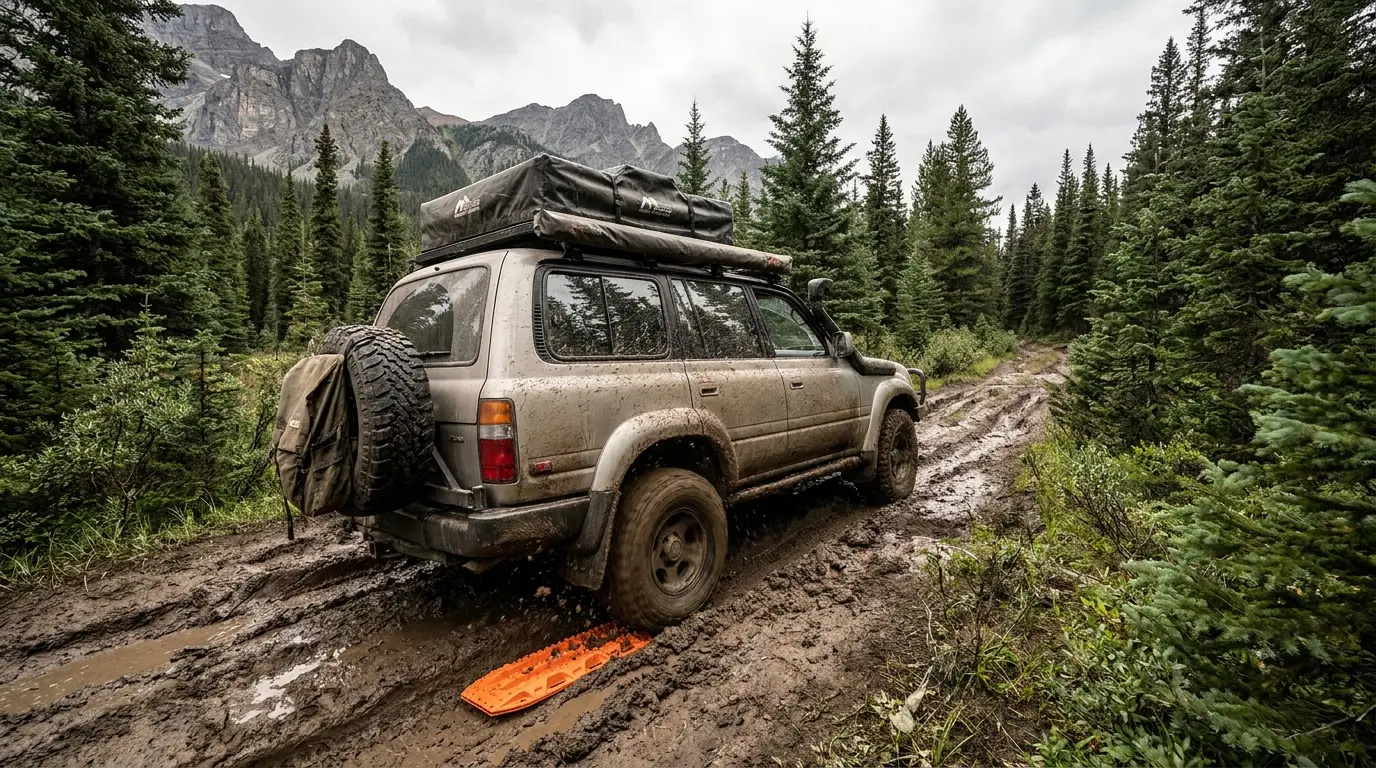
Everyone argues about which recovery board brand is best. Almost nobody talks about the two things that actually decide whether you drive out clean or dig for an hour: the tooth design and the plastic they're moulded from. Get those right, add a little technique, and a $150 pair of boards will out-recover a winch on most of the trouble you'll actually meet. Here's the field-tested version, minus the brand war.
A recovery board does one simple job: it turns a spinning, useless wheel into a wheel that grips. The ramp gives your tire something solid to climb, and the teeth on top stop it from just polishing the surface. That's the whole idea. Which is exactly why the details that matter aren't the sticker or the colour — they're how well those teeth bite and how the board holds up when it's cold and loaded.
Teeth do the work, not the colour
The ramp under your tire is really just a wedge. What claws you out is the teeth biting your tread while the underside bites the ground. Tall, aggressive, staggered teeth grab; shallow or worn-flat teeth spin and glaze. If you can run your thumb across the teeth and they feel rounded, they're already spent. Sharp, defined edges matter more than any logo on the handle.
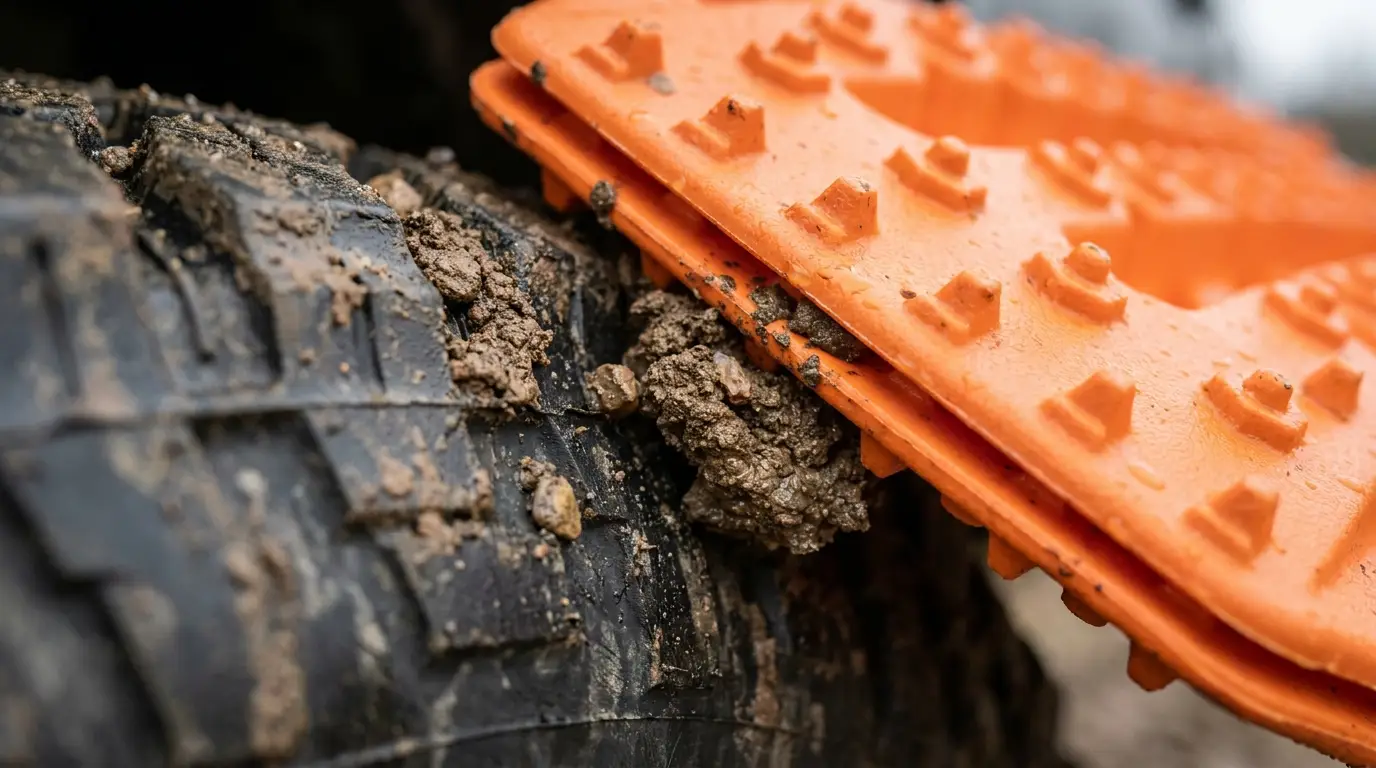
You'll see two broad styles out there. Moulded nylon boards use rows of hollow, pyramid-style teeth that are surprisingly grippy and self-clearing in mud. Metal-toothed boards bolt actual alloy studs onto the ramp for maximum bite on ice and hardpack, at the cost of chewing your tires if you spin. For most overlanders on mixed dirt, mud, and snow, a good moulded-nylon board is the honest sweet spot — enough bite without shredding rubber every time you're careless with the throttle.
The plastic is a cold-weather decision
This is the part the reviews skip. Cheap boards are moulded from brittle polypropylene that goes glassy and snaps in deep cold — which is exactly when you're most likely to need them. Reinforced nylon stays flexible well below freezing. In an Alberta winter that isn't a nice-to-have; it's the whole ballgame. A board that flexes slightly under load spreads the tire's weight instead of shattering, and flex is a feature here, not a flaw.
The diagram below breaks down what you're actually looking at when you pick a board up — and which parts earn their place.
Carry two, and use them as a pair
One board recovers one wheel and usually just re-buries the other. Two boards under the drive wheels, aired down, with a gentle right foot, gets most rigs out in a single attempt. Mount them where you can reach them without unpacking the whole rig — a board you have to dig the fridge out to find is a board you won't bother using. If you regularly travel solo in remote country, a four-pack isn't overkill; it lets you build a ramp under all four corners when you're properly buried.
Technique beats horsepower
Here's the part that saves boards and tires both: recovery is a finesse job, not a power move. The single most useful thing you can do happens before the boards even come out — air down. Dropping your pressure lengthens the tire's contact patch dramatically, and that alone frees a lot of "stuck" rigs. Then work the sequence, slowly.
- Air down first. Drop to roughly 15–18 psi (lower in soft sand) to lengthen the contact patch before you touch a board.
- Clear the tire path so the board sits flush against the tread, not floating on loose mud or snow.
- Seat the board firmly under the tire with the ramp angled the way you want to drive out.
- Feather the throttle. Wheelspin melts teeth and launches boards; slow and steady climbs the ramp.
- Keep rolling the moment you're moving, and don't stop again until you're on firm ground — then air back up before the highway.
The cheat sheet below is the pressure starting point we reach for by surface. Treat it as a guide, not gospel — rim type, tire, and load all shift the numbers.
If you only upgrade one recovery item this season, make it a real pair of reinforced-nylon boards with sharp teeth — then practice with them once in your own driveway before you ever need them in the dark, in the cold, with a passenger watching.
Quick Answers
How many recovery boards should I carry?
Carry at least two so you can support both drive wheels at once. A single board usually just re-buries the opposite wheel, so a pair is the practical minimum for a self-recovery.
Do recovery boards break in cold weather?
Cheap polypropylene boards can go brittle and crack in deep cold. Boards made from reinforced nylon stay flexible well below freezing and are the better choice for winter overlanding in a place like Alberta.
Should I air down before using recovery boards?
Yes. Airing down to roughly 15 to 18 psi increases your tire's contact patch and often does more to free a stuck vehicle than the boards themselves. Air back up before returning to the highway.
Why do recovery board teeth matter?
The teeth bite into your tire tread and into the ground to create grip. Tall, sharp, staggered teeth grab hard, while shallow or worn-flat teeth let the tire spin and glaze the board.
What is the biggest mistake people make with recovery boards?
Using too much throttle. Wheelspin generates heat that melts the teeth and can fling the board out from under the tire. Slow, steady throttle climbs the ramp cleanly and keeps the board intact.
Trusted Sources
Field-tested by the Trekkr community. Conditions change — always check current advisories and travel with someone who knows your route.
Your Rig Belongs on This Page
Drop your best shots and the story of your build. Every week we feature community rigs — free, always.
Trekkr.life shares field notes from the overlanding community for general information only. Vehicle recovery carries real risk of injury and damage — never stand in line with a loaded strap, verify your technique with proper training, and check routes, weather, and fire bans with official sources before you go. Gear opinions are our own and never sponsored.