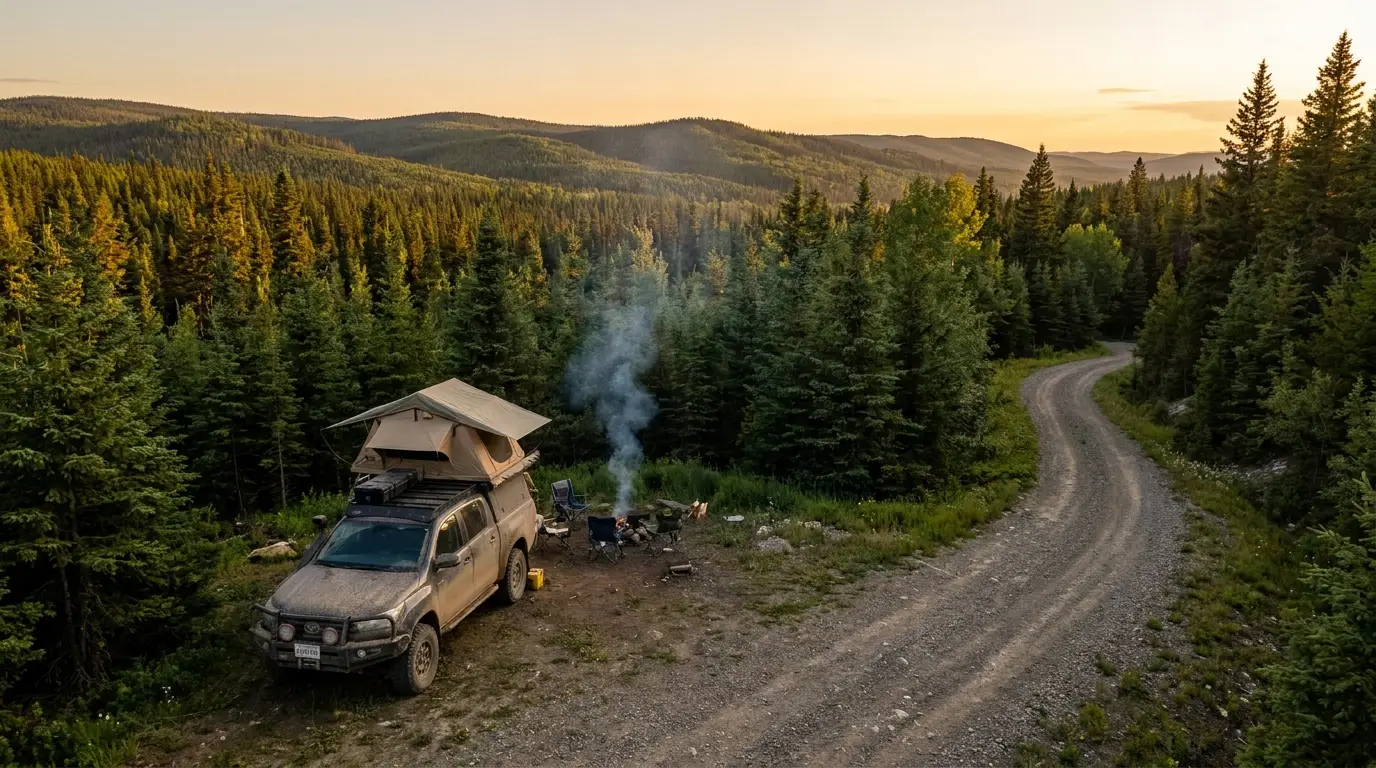
You don't need a week off and a Baja-spec rig to get properly out there. Within two hours of Edmonton, a handful of forest service road loops deliver the real thing — free dispersed camping, honest water crossings, and enough signal loss to feel like you actually left. Here are three we keep going back to, plus the ground rules, the crossing know-how, and the no-signal kit that keeps a weekend fun instead of memorable for the wrong reasons.
Forest service roads — FSRs, the gravel arteries built for logging and access — are the quiet backbone of Alberta overlanding. West of Edmonton they climb out of farmland into the foothills fast, and once you're on the gravel the campsites are free, the traffic thins to nothing, and the scenery does the rest. The three loops below sit on a difficulty ladder, so you can pick the one that matches your rig and your nerve.
Before you go: the Alberta ground rules
Most of this is random camping on Crown land under Alberta's public land rules — free, but with real limits on how long you can stay, how far you must sit back from water, and whether you can have a fire at all. Check the current fire advisory before you light anything; summer bans go up fast and the fines are not small. Pack out everything you bring in, and camp on durable ground that's already been used rather than crushing fresh vegetation for a "better" spot.
A paper backup of your route matters more than people think. The entire appeal of these loops is that the signal dies — so plan as if it will, because it will.
The three loops, easiest to gnarliest
Think of these less as secret coordinates and more as a progression. Start on the gentle one, learn how your rig behaves on gravel and in water, then step up. The map below shows the shape of the day: a loop off the highway, a cluster of dispersed sites, and the point where your bars vanish.
Loop 1 — Rolling foothills, easy crossings
The gentlest of the three. Wide, well-graded gravel, a couple of shallow crossings you can read from the driver's seat, and pull-outs with room to level a rig and pop a rooftop tent. It's the right first loop if you're new to FSR travel, breaking in a new build, or bringing someone who's never camped off-grid. Nothing here should ruffle a stock crossover with decent tires in dry weather.
Loop 2 — Where the coverage dies
Signal drops within the first forty minutes and doesn't come back. The track tightens, a few washboard climbs test your patience, and the payoff is the best stargazing of the three once the sky goes fully dark. This is the loop that teaches you to trust a paper map and a plan — and the one to carry a satellite messenger for, because "I'll just call if something goes wrong" stops being an option the moment your bars vanish.
Loop 3 — The one that earns its name
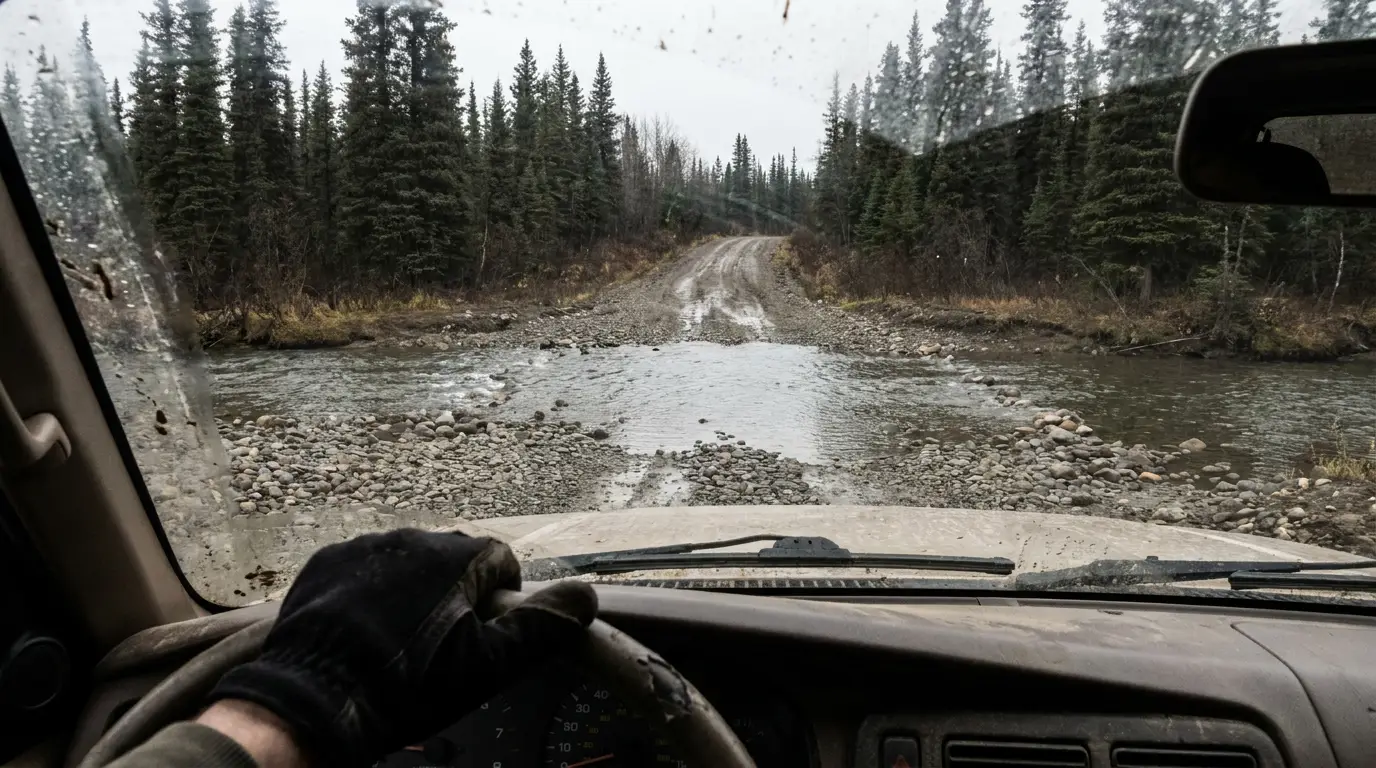
Steeper, rougher, and home to a water crossing that genuinely deserves a walk-first every single time. After heavy rain, skip it — the level comes up and the exit gets greasy. In dry mid-summer a stock high-clearance rig with real tires clears it without drama, but the word "stock" is doing a lot of work in that sentence. Air down, take it slow, and never let momentum make the decision a walk should have made.
How to read a water crossing
This is the one skill that separates a fun loop from a bad afternoon. A crossing that looks identical week to week can hide a washed-out hole or a soft bottom after rain. The routine is always the same, and it's always worth the ten minutes.
- Stop and walk it. Wade the line you intend to drive, feeling for depth, drop-offs, and whether the bottom is firm gravel or soft silt.
- Find your exit first. Getting in is easy; the far bank is where rigs get stuck. Make sure there's a clear, climbable line out before you commit.
- Know your rig's limit. Water at hub height is usually fine; water at the door sills means stop. Deep water and a spinning fan can end an engine fast.
- Cross slow and steady in a low gear, keeping a small, constant bow wave ahead of the bumper — no throttle stabs, no stopping midstream.
- After heavy rain, just don't. No photo or shortcut is worth a drowned rig two hours from the nearest tow.
Rule of thumb: if you can't see the bottom of a crossing and read a clean exit line, get out and walk it before you commit. Ten minutes of wet boots beats a winch recovery in the dark.
Packing for no-signal country
These loops are close to the city, which lulls people into treating them like a day trip. The distance is short; the isolation is real. A dead phone is a paperweight the moment the towers drop out, so the kit that matters is the analog stuff.
None of this is exotic or expensive, and most of it lives in the rig full-time once you've done a few loops. The habit that ties it together is the cheapest one of all: tell someone your route and your expected return before you lose signal, so that if the worst happens, help knows where to look.
Quick Answers
Do I need a permit to camp on forest service roads near Edmonton?
Dispersed random camping on Alberta Crown land is generally free and does not require a permit, but it is subject to stay-length limits, setback rules from water, and any active fire bans. Always check current public land camping rules before you go.
Can a stock vehicle handle these FSR loops?
Yes, a stock high-clearance vehicle with decent tires can handle the two easier loops in dry summer conditions. The roughest loop's water crossing should be walked first and skipped after heavy rain.
Will I have cell service on these routes?
No, expect to lose cell coverage, especially on the second and third loops where signal drops within the first hour and does not return. Carry a paper map and ideally a satellite messenger.
How do I judge whether a water crossing is safe?
Get out and walk it before driving through. Check the depth, the firmness of the bottom, and whether you can read a clear exit line. Crossing conditions change week to week with rain.
How far from Edmonton are these loops?
All three are within about a two-hour drive of Edmonton and can be done as a round trip on roughly a single tank of fuel in a stock rig.
Trusted Sources
Field-tested by the Trekkr community. Trail conditions change — always check current advisories before you roll out.
Your Rig Belongs on This Page
Drop your best shots and the story of your build. Every week we feature community rigs — free, always.
Trekkr.life shares field notes from the overlanding community for general information only. Backcountry travel carries real risk — verify routes, weather, fire bans, and regulations with official sources before you go. Never attempt a water crossing you haven't walked. Gear opinions are our own and never sponsored.